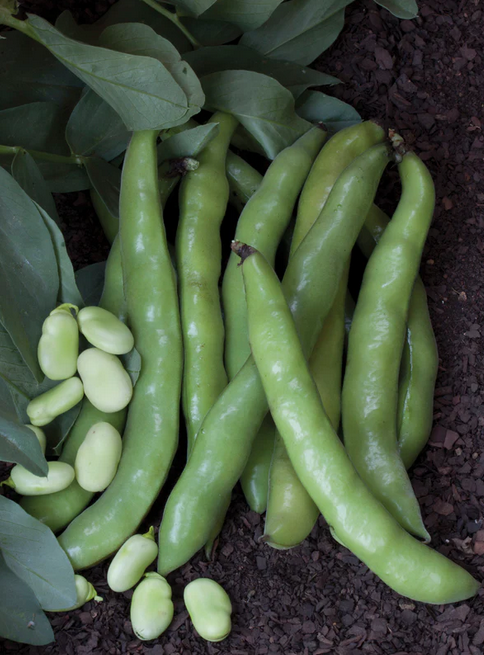
Broad Bean ‘Aquadulce’ is highly prolific and easy to grow, and yet remains one of the most delicious in terms of flavour and texture. It is a white seeded variety; with pods up to 23cm (9in) long, crops in 90 days with a height of 90 to 100cm (36 to 40in). They are an ideal variety for children to grow.
This variety is universally recognised as being best hardy broad bean for an autumn sowing; it can be sown anytime from autumn until spring. It establishes itself very quickly and will produce a very early crop.
We should, of course, all grow Broad Beans, as they are so much more delicious eaten young and just picked. When they’re smaller than a thumbnail, you can even eat them raw. But it does take cooking – albeit just two minutes in lightly salted simmering water to bring out maximum sweetness. The first pick of the year, tossed with a slightly overindulgent knob of butter, is a high point of early summer.
Broad Bean ‘Aquadulce’ was awarded the RHS Award of Garden Merit in 1995. This was reconfirmed in 2011.
It is also recommended by the River Cottage Handbook Veg Patch.
Sowing: For the earliest crops sow from early autumn to late winter or sow in spring
Broad beans are best suited to a cool climate, and they only grow satisfactorily at temperatures below 15°C (60°F). If sowing in the autumn, choose a sheltered position. The ideal soil is one which has been manured for a previous crop.
Direct sowing:
Broad beans are traditionally sow in double rows 7cm (2in.) deep, 23cm (9in.) apart in the row. The double rows should be spaced 23cm (9in.) apart and a distance of 40 to 60cm (18 to 24in.) should be left before the next set of double rows. Plant seed 5cm deep. They should be planted or thinned to 20cm apart in staggered rows 30cm apart. Sow extra seeds at the end of the row for transplants.
Support:
As the beans get taller, you will need to provide extra support to your plants. A common mistake of the first-time gardener is not giving plants support ties that allow growing space. The haulm (stalk) of the broad bean plant is very brittle and easily broken, so the best way to support the plant is to construct a narrow box of stakes pegged in at 120cm intervals. Twist lengths of string from stake to stake to create a supporting frame that the bean plants can lean against when being blown around by the winter winds. Further levels of string can be added as the beans grow taller.
Care:
Once the pods start to form, ensure the beans are well watered around the base of the plant during dry periods. If the plants send out side shoots from the base, these should be cut off. At the end of cropping the plants should be removed from the soil. If the plants are left in the ground after their work is done, young sucker shoots can emerge which will exhaust the soil for follow-on crops.
Pinching out:
One of the gardening formalities with broad beans – undertaken when the flowers have just wilted to black, sooty curls and the first tiny pods are about to appear in their place – is to pinch out the little cluster of leaves at the top of the plant. This arrests further growth, directing the energy of the plant into the developing pods. Don’t discard these leafy bean tops – stir-fried in butter until lightly wilted, they are a delicious vegetable side dish in their own right – think of them as beany greens. They are also a fine filling for a tart or omelette.
Harvesting:
Harvest 8 to 10 weeks from spring sowing. Regular picking (ideally 2 or 3 times a week) will keep production going for about 4 to 6 weeks For the best flavour, pick the beans when they are starting to show through the pod while the scar on the end of the beans is still white or green (although they can still be enjoyed after the scar has turned black).
To remove the pods from the plant, give them a sharp twist in a downward direction. With the last pick of the summer, the fat, bulging pods need a good 10 minutes boiling, after which the tender green kernels can be slipped out of their pale, leathery skins.


Reviews
There are no reviews yet.