1. Seedling Preparation
- Start with healthy kale seedlings.
- Seedlings should be 4-6 weeks old, with strong stems and several true leaves.
2. Optimal Transplanting Time
- Kale can be transplanted in early spring for a summer harvest or in late summer for a fall and winter harvest.
- It’s a cold-tolerant crop, making it suitable for cooler climates and seasons.
3. Soil Preparation
- Kale prefers well-drained, fertile soil with a pH of 6.0 to 7.5.
- Enrich the soil with compost or well-rotted manure before planting.
4. Transplanting
- Space the kale plants about 12-18 inches (30-45 cm) apart in rows that are 18-24 inches (45-60 cm) apart.
- Plant the seedlings at the same depth they were in their containers.
- Water the plants well after transplanting.
5. Watering and Care
- Keep the soil consistently moist. Kale requires regular watering, especially during dry spells.
- Mulch around the plants to retain soil moisture and suppress weed growth.
6. Fertilization
- Apply a balanced, all-purpose fertilizer a few weeks after transplanting.
- Kale benefits from additional nitrogen, so a nitrogen-rich fertilizer can be applied mid-season.
7. Pest and Disease Management
- Monitor for pests like aphids and cabbage loopers.
- Use organic or chemical controls as necessary and practice crop rotation to prevent disease.
8. Harvesting
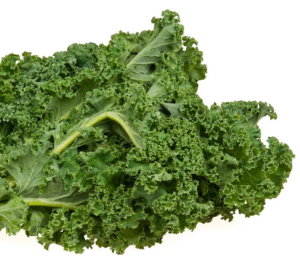
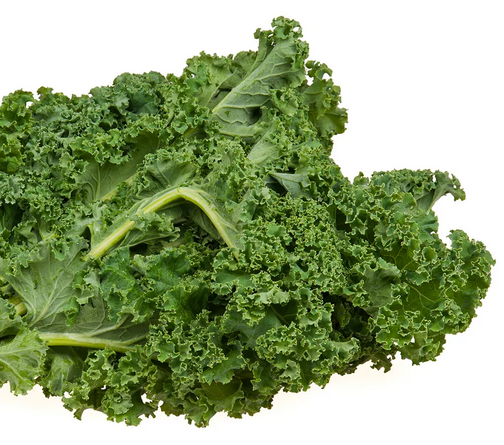
- Harvest kale leaves when they are about the size of your hand, picking the outer leaves first.
- Kale can be harvested continuously as it grows back after picking.
9. Post-Harvest Care
- After the main harvest season, clean up any leftover plant material to prevent disease and pest buildup.


Reviews
There are no reviews yet.